-
Scallops with Roasted Fennel & Spring Peas

Mid-March. The time of year when one day the weather is in the 20’s and the next it’s in the 70’s. The anticipation of Spring and Summer grows significantly around this time and so does the appetite for lighter, fresher meals. These Scallops with Roasted Fennel & Spring Peas definitely hits the mark and are perfect for a simple at home date night or luncheon with the girls.
To make this dish, you will need just a handful of simple ingredients- Scallops, Bacon, Fennel, Shallot, Garlic, Spring Peas, Olive Oil, Parsley, & Fresh Mint.
From start to finish, this dish is ready within a half hour and ready to serve. This recipe can also be easily modified to a great “Friday” meal for those of you observing Lent and avoiding meats by simply removing the bacon and replacing the bacon fat with a tablespoon or so of butter (or Olive Oil if you’re watching your waistline!).
Scallops with Roasted Fennel & Spring Peas
Prep Time 10 minutesCook Time 20 minutesTotal Time 30 minutesServings 2Ingredients
- 10 Sea Scallops Side Muscle Removed
- 1 Bulb Fennel Trimmed and Sliced
- 1 Shallot Sliced
- 3 Cloves Fresh Garlic Unpeeled
- 1 Bag Frozen Spring Peas
- 3-4 Strips Bacon
- 4 TBSP Olive Oil
- 4 Leaves Fresh Mint Chiffonade
- 1 TSP Fresh Parsley Chopped
- Salt & Pepper To Taste
Instructions
-
Pre-heat oven to 425 Degrees. Remove peas from the freezer to begin thawing.
In a small baking dish, add sliced shallots, fennel, and garlic cloves (peel on) and coat with 2 TBSP olive oil, salt and pepper. Roast in oven for approximately 20 minutes, stirring occasionally until lightly roasted and golden brown.
While the fennel mixture is roasting in the oven, gently rinse the Scallops and remove any side muscle still attached. Transfer scallops onto a paper towel and pat dry. The scallops must be completely dry prior to searing or they will not develop the golden brown outer crust you are looking to achieve.
In a frying pan, sear the scallops in remaining 2 TBSP of Olive Oil for approximately 3 minutes per side or until golden brown crust has begun to appear. It is important not to overcrowd the pan or the scallops will steam instead of crisping up on the edges. As the scallops finish, transfer them onto a paper towel lined plate for later.
Using the same frying pan, add in slices of bacon and cook until fat has rendered out and bacon is crisp. Remove bacon and chop up for later topping.
Add peas to the frying pan with the bacon fat and cook until completely defrosted and vibrant green in color. Season with salt & pepper.
Pull roasted fennel mixture out of the oven, remove garlic cloves, and add into the sauteed peas with about half of the chopped bacon, fresh parsley, and fresh mint. Toss together for another minute until well combined.
Transfer Pea mixture into a serving dish and top with scallops, remaining bacon, and fresh herbs to garnish. Serve warm-room temp.
-
Cob Smoked Corn Chowder
With the freezing temperatures lately, soup has definitely been on the menu in this house and today, we are having Cob Smoked Corn Chowder.

So what is “Cob Smoked” Corn Chowder?
Well, when a co-worker travels to Vermont every couple of years to purchase their Wallingford Cobsmoke Bacon, (smoked over corn cobs and maple wood) and they bring some back for you, you stretch it as much as you possibly can and continue enjoying it’s delicious and unique flavor as long as possible.
One way not to waste anything is to utilize the fat renderings in a soup, and given the smoky undertones of corn, there is no better pairing than a hearty Corn Chowder!
For those (mostly all) of you who do not have access to this particular brand of bacon (including myself 99% of the year), don’t sweat it because any type of bacon will do just fine. You can easily re-create this soup on your own by following the recipe below and using the bacon of your choice.
Cob Smoked Corn Chowder
Prep Time 20 minutesCook Time 1 hourTotal Time 1 hour 20 minutesServings 6Ingredients
- 5 Ears of Corn Strings Removed
- 5 Slices of Smoked Bacon & Fat Renderings
- 4 Cloves of Garlic Roasted
- 1 Small Yellow Onion Diced
- 2 Stalks of Celery Diced
- 12-14 Baby Red Potatoes Diced
- 4 TBSP Butter
- 2 TBSP All Purpose Flour
- 4 Cups Chicken Stock
- 1 Cup Whole Milk
- 1/2 Cup Heavy Cream
- 2 Bay Leaves
- 5 Sprigs Fresh Thyme
- 3/4 Cup Grated Cheddar Cheese
- Olive Oil
- Salt & Pepper To Taste
- Fresh Parsley (optional) For Garnish
- Cayenne Pepper Very Small Pinch
Instructions
-
1. First, remove any brown/dirty outer leaves of corn, and trim off the stringy tips. Reserve the lighter green inner leaves and peel them down to remove the strings from inside the husk so all that’s left are the kernels and lighter green leaves. Pull lighter green leaves back up around the corn and transfer into a baking dish with high sides. Drizzle corn with olive oil, salt, and pepper. Add 2 TBSP of butter to the bottom of the baking dish and bake at 380 degrees for approximately 20 minutes. The husks should have begun to turn light brown, but the corn itself should remain vibrant and yellow. Remove from the oven and set aside to cool. Once cooled, shave kernels off the cob and set aside for later.
2. While you are preparing the rest of the ingredients, drizzle olive oil over the four cloves of garlic and wrap inside a piece of aluminum foil. Bake at 380 degrees until the remaining ingredients are prepped (15-20 minutes). Remove garlic from oven, which should be golden brown and softened. Run a knife through until finely minced and set aside.
3. In a soup or dutch oven pot over medium heat, fry bacon until crisp, reserving any remaining fat renderings and set bacon aside for later topping. To the renderings, add remaining 2 TBSP of butter, onions, and celery. Sweat down for 5-6 minutes, then add the roasted garlic. Slowly stir in flour for another minute or so to combine.
4. Add chicken stock, milk, bay leaves, thyme, and potatoes and bring up to a boil.
5. Once the soup comes to a boil, lower heat and simmer. Add corn, heavy cream, and Cheddar cheese, three slices of bacon (crumbled) and a tiny pinch of Cayenne pepper to the soup pot and cook for an additional half hour or so until the potatoes are fully cooked and desired thickness is achieved.
6. Top off with extra cheese, remaining crumbled bacon, and fresh parsley to garnish. Serve hot.
-
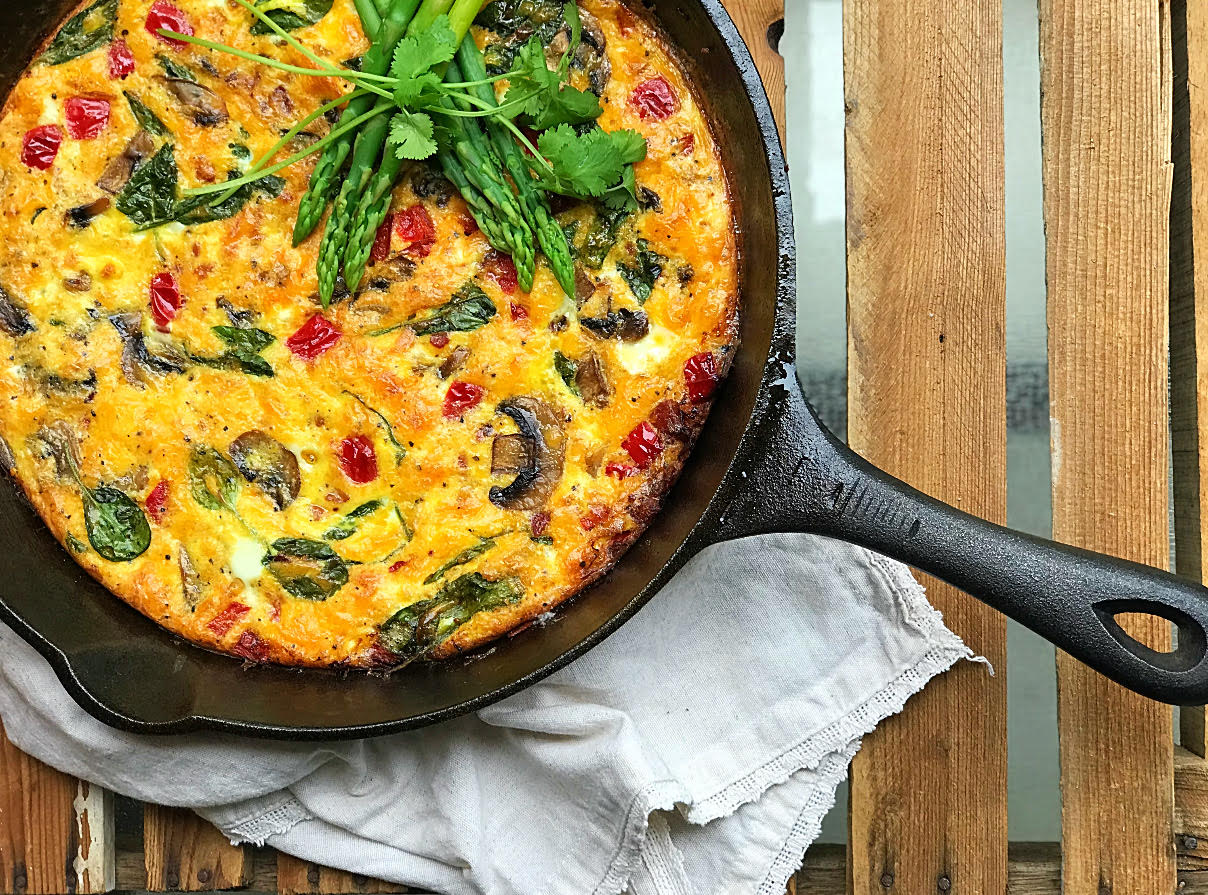
Cast Iron Southwest Frittata
One of my favorite things about cooking is that you can pull inspiration from anywhere whether it be a restaurant you’ve gone to, a country you’ve visited, a new person you’ve met, a special occasion, or even something as simple as driving past a farm market and having a little extra time on your hands (for once!) which was me this afternoon. Enter the Cast Iron Southwest Frittata.

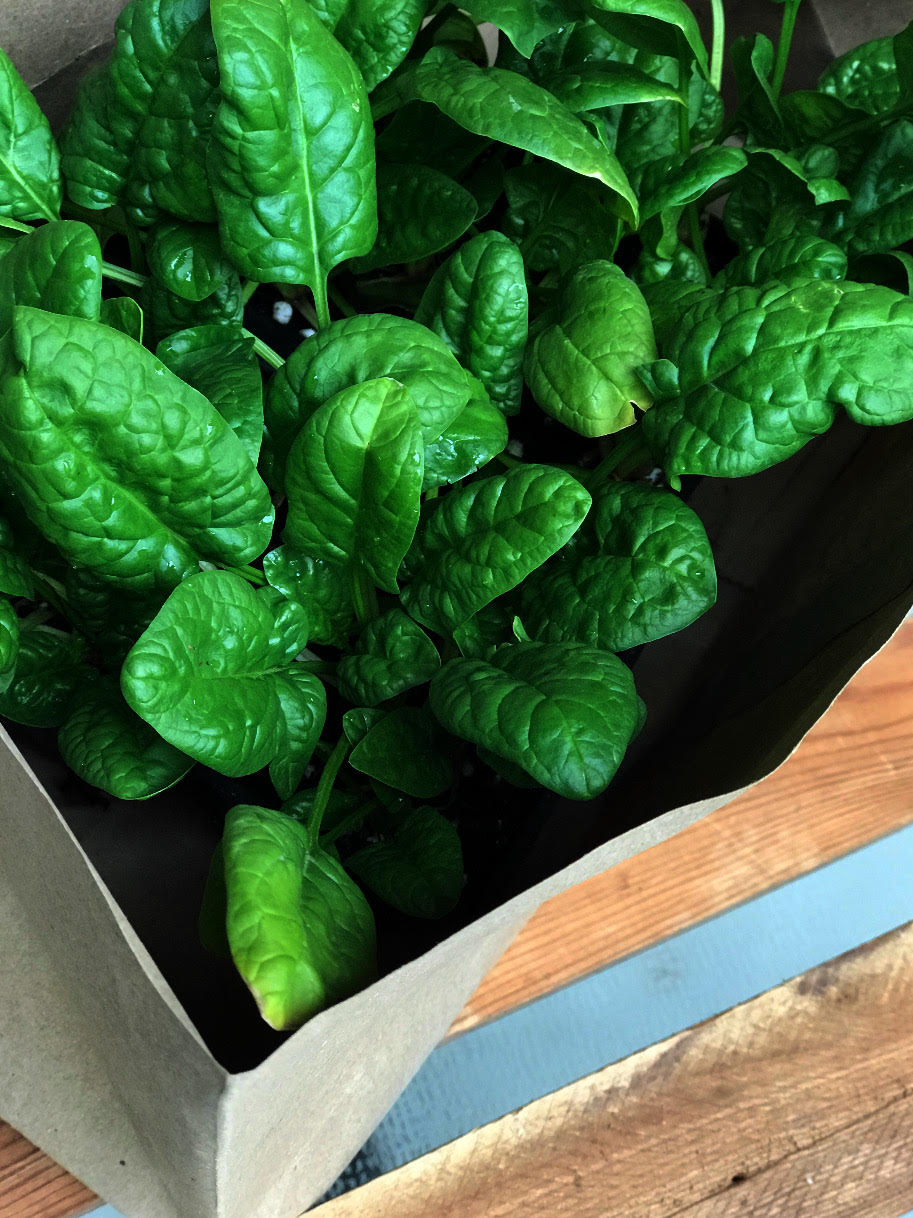
In addition to the vibrant hanging flowers, I noticed they were also selling fresh salad greens. I knew the Spinach would go great in a frittata and already had the remaining ingredients on hand so everything came together effortlessly. Plus, with Mother’s Day quickly approaching, it was the perfect time (if ever) to prepare this thoughtful and delicious brunch recipe.

Southwestern flavors pair extremely well with eggs, which is why you’ll often find them on the menu at your local breakfast spot. Similar to an omelette, frittatas can have endless variations, and are known to be that “garbage disposal” dish you make when you’ve got random odds and ends you’re not quite sure what to do with.

This recipe in particular is one that you can never go wrong with- and the upside? It appeals to a wide audience so if your family is a little on the picky side (like mine) everyone will be sure to enjoy!
Cast Iron Southwest Frittata2018-05-12 22:35:13PrintIngredients- 4 Strips of Bacon
- 1 Shallot (sliced)
- 1 Clove of Garlic (sliced)
- 3 Button Mushrooms (sliced)
- 1/2 Red Bell Pepper (diced)
- 1 Cup Fresh Spinach
- 1 TBSP Extra Virgin Olive Oil
- 1 TBSP Vegetable Oil
- Salt & Pepper (to taste)
- 8 Eggs
- 1/2 Cup Milk
- 1 Cup Shredded Cheddar Cheese
Instructions- Preheat oven to 350 Degrees.
- Coat a seasoned cast-iron skillet with vegetable oil (see notes).
- In a separate frying pan, cook bacon and remove when crisp, leaving remaining fat renderings in the pan. Give a rough chop. To the same pan, add mushrooms, garlic, shallots, and olive oil. Sweat down and remove from heat. Add red bell peppers and sauté until they lose their hard crunch (about 3-4 minutes), then remove from pan.
- In a mixing bowl, whisk together eggs, milk, Cheddar, salt & pepper. Set aside.
- Place the original cast iron skillet over medium heat until pan is hot and transfer mushrooms, garlic, shallots, and red bell peppers into skillet. Add baby spinach and sauté for approximately 30 seconds until leaves begin to wilt, but still hold their shape. Pour egg mixture into cast iron skillet and stir to combine all ingredients evenly.
- Place skillet into oven and cook for 30-35 minutes or until golden brown on top and cooked through (using a toothpick to check doneness- if the toothpick pulls out dry, the center is fully cooked).
- Use a butter knife to free sides from the skillet and a rubber spatula if needed to gently remove any additional sticking without breaking the frittata.
- Being careful not to burn yourself in the process, top with a piece of parchment paper and flip onto a serving platter. Serve hot or lukewarm.
Notes- Vegetable Oil has a higher smoking point than Olive Oil, meaning it will burn at a slower rate. This is necessary to make sure the skillet can get nice and hot without burning before the egg mixture is added.
saristotle https://saristotle.com/